This page contains affiliate links. If you buy through one, My Cooking Era may earn a commission at no extra cost to you. Recommendations include useful tools and optional kitchen treats. How we handle affiliate links. As an Amazon Associate I earn from qualifying purchases.
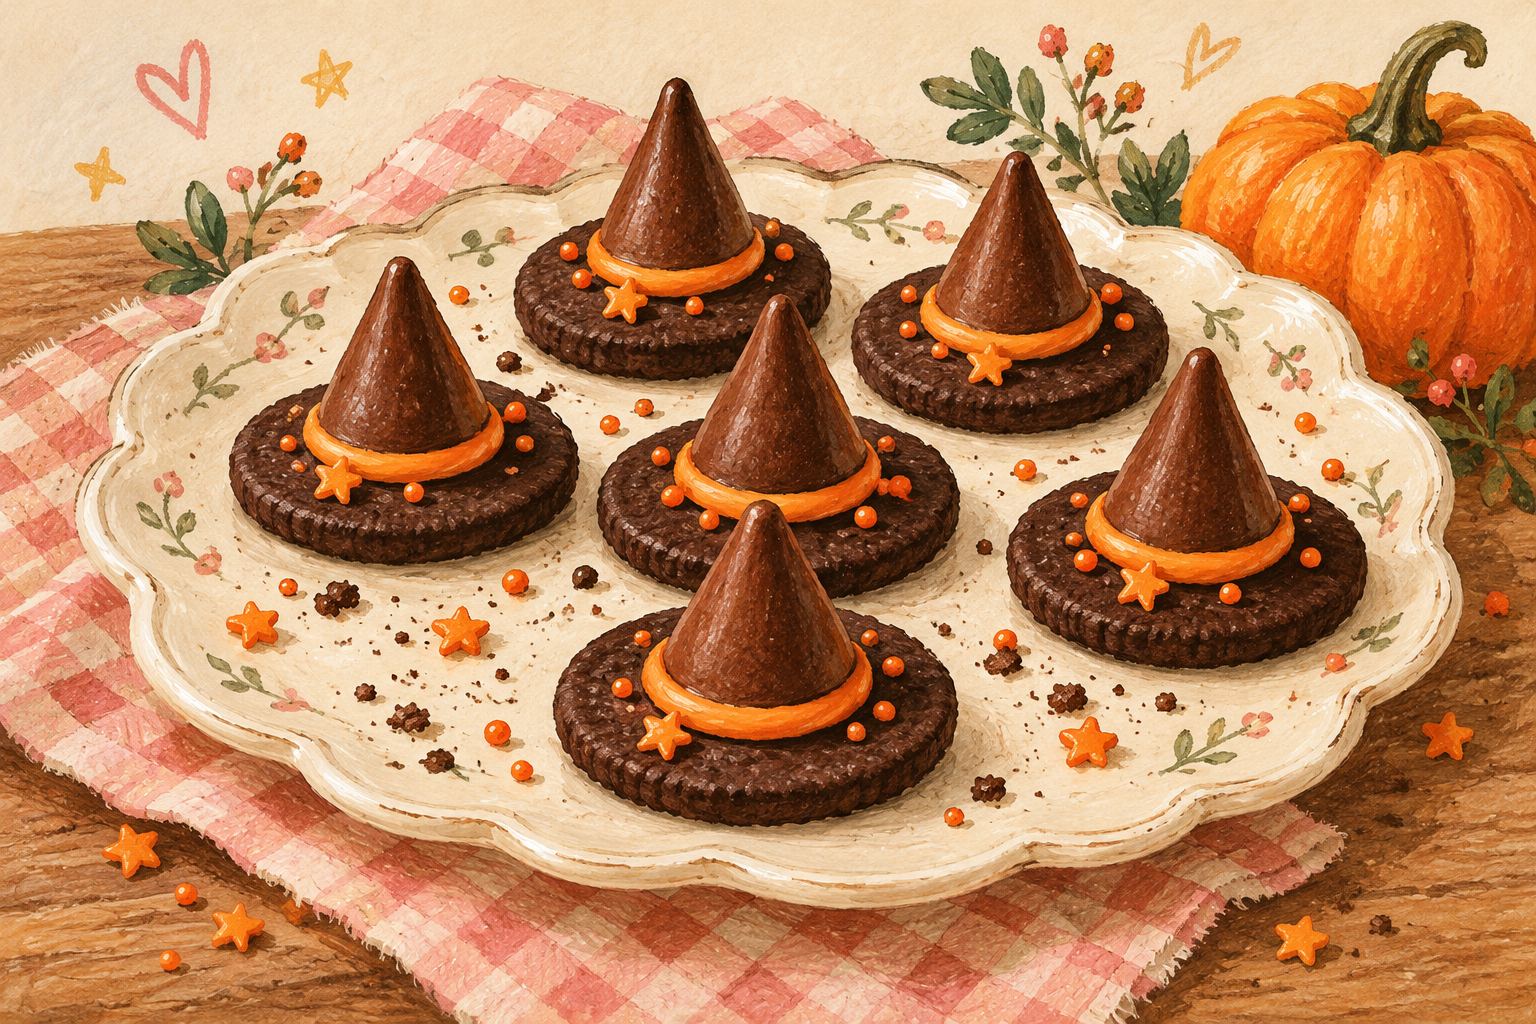
An original practice recipe, not independently kitchen-tested. Time and yield are estimates. The image is editorial illustration, not a photograph of a tested batch. Follow ingredient-package storage instructions.
These little hats have the satisfying feeling of a craft project you can eat afterward. There is no dough to make and no hot coating to manage. You are attaching two ready-to-eat things and giving them a tiny orange hatband.
They are especially handy when you want a festive plate but have already used your energy on the rest of the day. Make six first if that is the right amount of fun.
Ingredients
- 12 flat, round chocolate cookies, about 2 inches across, with no hole in the center
- 12 individually wrapped, pointed chocolate candies, fully unwrapped
- 2 ounces (55 g) ready-to-use orange decorating icing in a tube or small piping bag
Check that the flat base of the candy fits comfortably on the cookie. The cookies are the hat brims; the chocolate points are the crowns. Choose icing whose label says it is suitable for decorating cookies, and check whether it sets firm or stays soft.
Make a dozen tiny hats
- Wash your hands and set out a tray lined with food-safe parchment. Unwrap every chocolate and discard the wrappers before decorating.
- Place a small dot of icing in the center of one cookie. Press the flat base of one pointed chocolate onto the icing.
- Pipe a thin orange band around the base of the chocolate. If piping a complete ring feels awkward, make a small stripe at the front and call it the ribbon.
- Repeat with the other cookies. Use a light touch: more icing can make the candy slide instead of making it more secure.
- Leave the hats flat for the setting time on the icing package. If the icing remains soft, serve and transport them flat without stacking.
No piping bag? Still a party
A decorating-icing tube is the easiest starting point. You can also use a small spoon or clean food-safe utensil to spread the attachment dot and add a little orange accent. You do not need to buy a full decorating set to make 12 hats.
When a hat leans sideways
Check that the cookie is flat and the candy’s base is sitting in the icing. Move the hat back into place and give it time. If the candy is heavy or the icing does not set firmly, carry the hats on a flat tray and serve them directly from it. Nobody needs a gravity-defying biscuit.
A tiny serving idea
Arrange the hats in a loose circle on a plate with brownie bats nearby. The tall hats and flat-winged bats make a cheerful mix. Keep any paper stars or decorative pumpkins beside the plate rather than in contact with the food.
A shallow food-safe container is useful for taking them to a gathering. Check its height before closing the lid; the pointed tops need room.
Ingredient and storage notes
Read the cookie, chocolate and icing labels for wheat, milk, soy and other allergens. Large chocolate pieces and hard cookies can be unsuitable for young children; adapt the activity for the people taking part. Keep a shared-kitchen batch’s limitations clear.
Make close to serving and follow the strictest package storage and use-by instructions. Refrigerate if any component requires it. These assembled treats have not been shelf-life or shipping tested. The treat planner can combine their shopping quantities with the other Halloween projects.