This page contains affiliate links. If you buy through one, My Cooking Era may earn a commission at no extra cost to you. Recommendations include useful tools and optional kitchen treats. How we handle affiliate links. As an Amazon Associate I earn from qualifying purchases.
An original practice recipe, not independently kitchen-tested. Times and yields are estimates. Follow the puff-pastry package’s thawing and baking directions where they differ. Artwork is editorial inspiration.
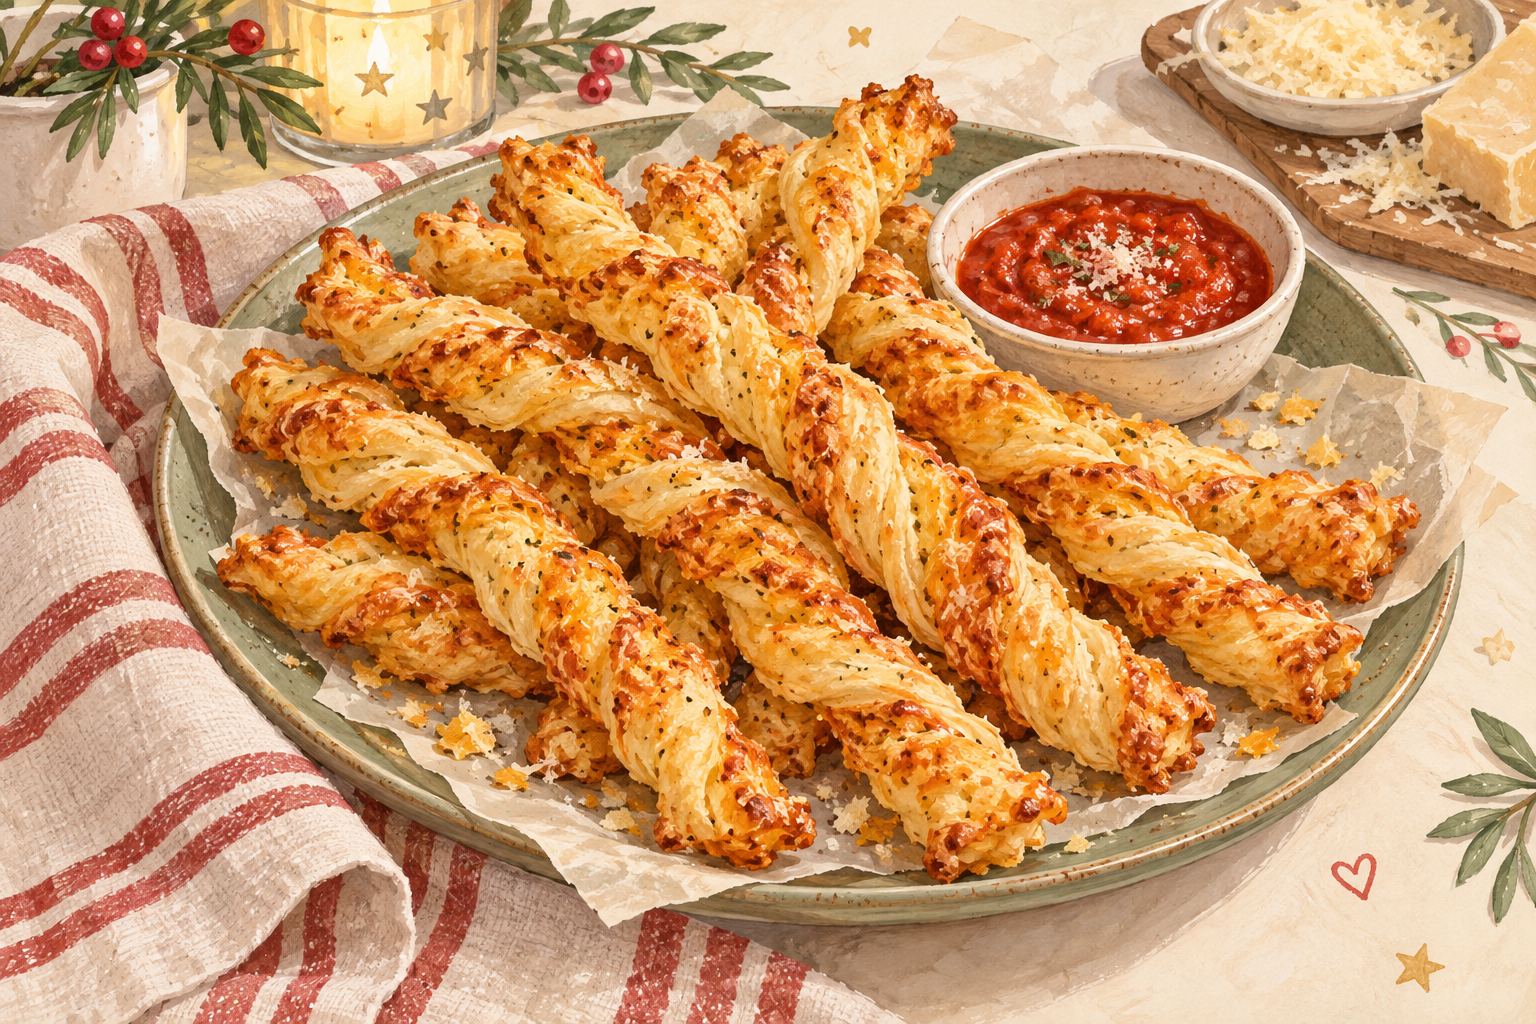
Puff pastry brings a little drama all by itself. The layers rise, the cheese catches the edges, and a crooked strip becomes something quite lovely. Start with bought pastry and give yourself one new skill to practice: handling it gently while it stays cool.
Ingredients
- 1 sheet ready-made puff pastry, roughly 8–9 ounces (225–255 g), thawed according to its package
- ½ cup (55 g) finely grated cheddar
- 2 tablespoons (15 g) finely grated Parmesan-style cheese
- 1 tablespoon milk, for lightly brushing
- A little flour for the work surface, only if needed
Sheet sizes vary. Aim for a rectangle around 9 by 12 inches, without stretching the pastry paper-thin. Check the pastry label for wheat, milk, egg or other allergens; the filling also contains milk.
Make the twists
- Preheat the oven to 400°F if that matches your pastry’s instructions. Line a suitable baking tray with oven-safe parchment rated for the temperature.
- Unfold the thawed but still cool pastry on a lightly floured surface. If it feels sticky or floppy, refrigerate briefly before continuing.
- Brush a very thin layer of milk over the surface. Scatter both cheeses evenly, then press lightly so they adhere. Do not crush the dough with heavy rolling.
- Cut the rectangle into roughly 12 strips along its shorter direction, giving strips about 9 inches long and 1 inch wide. Exact count depends on your sheet.
- Hold each strip by its ends and give it two or three gentle twists. Set on the tray with space between the strips. Press the ends down lightly to help them stay twisted.
- Bake approximately 15–20 minutes, checking against your package’s directions, until puffed, thoroughly baked and golden. Look at the underside as well as the cheese on top. Cool briefly before lifting from the tray.
When they untwist
Pastry relaxes as it warms. If a strip straightens in the oven, it becomes a cheese straw. If many strips spread flat, your pastry may have warmed too much before baking; keep the next tray cool and avoid overworking it.
Make the serving look intentional
Lay the twists in a loose bundle on a plate, with a small bowl of ready-to-eat tomato dip if you like. Keep any dip under its label’s storage instructions. The twists can also sit beside a caprese wreath for a red, white and green appetizer spread.
Preparation and storage notes
Do not taste raw pastry or use uncooked flour as a finishing garnish. Follow the FDA’s raw-flour guidance. Cool the twists on a suitable rack so steam can escape. They are intended for same-day serving, with ingredient storage instructions and normal perishable-food time limits followed. Shelf life has not been tested.
For established pastry technique, see King Arthur Baking’s cheese-twist recipe. Our simpler bought-pastry version has not been tested by that source. Keep the rest of the party easy with the Christmas project collection.